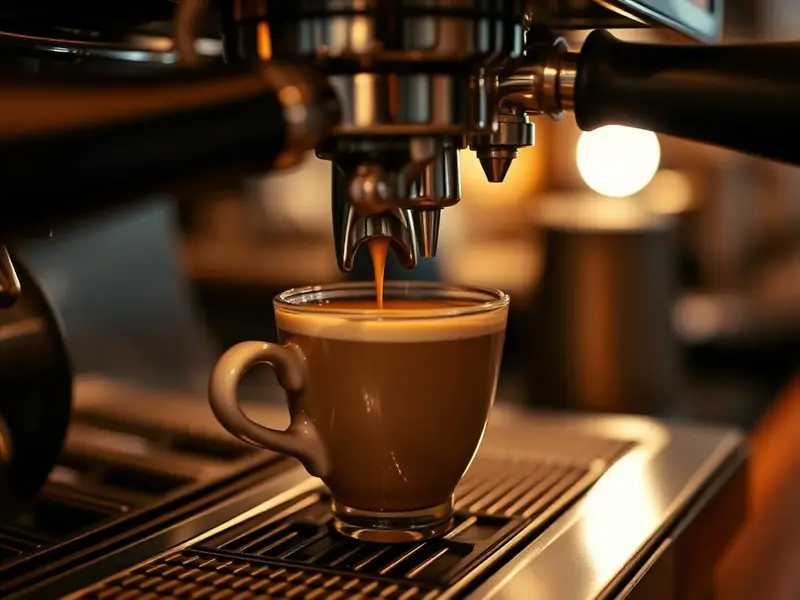
You spent good money on a home espresso machine, watched a dozen YouTube videos, and your first shot came out either black tar or brown water. Welcome to dialing in espresso — the single most frustrating and rewarding part of home coffee. The good news is that the process is actually pretty simple once someone explains what the three numbers you're playing with actually mean.
This guide walks you through dialing in espresso at home from your very first shot, step by step, using nothing more than your machine, your grinder and a $50 scale. No barista jargon — just what to change, in what order, and why.
What 'dialing in' actually means
Dialing in is the process of adjusting three variables until the shot tastes good:
1. Dose — how many grams of coffee go in the basket (in).
2. Yield — how many grams of espresso come out of the basket (out).
3. Time — how long the shot takes from the pump starting to you stopping the flow.
Grind size is the invisible fourth variable. When you make the grind finer, the shot takes longer and tastes stronger and more bitter. When you make it coarser, the shot runs faster and tastes weaker and more sour. That's basically the whole game.
The starting recipe every beginner should use
| Variable | Target | Notes |
|---|---|---|
| Dose (coffee in) | 18 g | Use a standard double basket |
| Yield (espresso out) | 36 g | That's 1:2 — twice the weight of the dose |
| Time | 25–32 seconds | From pump on to pump off |
| Water temperature | 93–96°C | Your machine handles this |
The 1:2 espresso recipe — memorize this before you touch the grinder.
Every espresso shot on the planet starts from a recipe like this. Weigh the coffee going in, weigh the espresso coming out, time it. That's the whole framework.
The gear you actually need
You don't need a $2,000 setup to pull good espresso, but two things are non-negotiable: an espresso-capable grinder and a scale that reads in 0.1 g.
Baratza Encore ESP
The cheapest grinder that can actually grind fine enough for espresso.
Amazon · We may earn a commission
Timemore Black Mirror Nano Scale
0.1 g accuracy, fits in a portafilter tray, $50.
Amazon · We may earn a commission
If your grinder can't grind fine enough for espresso (most sub-$150 grinders can't) you will never dial in a shot no matter what you do. Fix the grinder first.
Step 1: Pull your first shot
Grind 18 g of coffee into your portafilter. Distribute it evenly (a light tap on the counter is fine to start) and tamp firmly and level. Lock the portafilter into the group head, place your scale and cup underneath, tare it, and start the pump.
Watch the scale and the timer at the same time. When the scale reads 36 g, stop the shot. Note the time.
Step 2: Read the result
You now have three pieces of information: dose (18 g), yield (36 g) and time. Compare that time to the 25–32 second window:
Shot ran too fast (under 20 seconds)
The espresso will taste sour, sharp, and thin. There wasn't enough contact time to extract the sugars and browning compounds. Fix: grind finer. Turn your grinder one or two settings tighter and pull another shot.
Shot ran too slow (over 35 seconds)
The espresso will taste bitter, burnt and dry. Water forced through too much resistance and over-extracted. Fix: grind coarser. Loosen your grinder one or two settings and try again.
Shot ran in 25–32 seconds
You're in the zone — now it's about taste, not time.
Step 3: Adjust to taste
Once the shot runs in the right time window, the last adjustment is by flavor. Sip it (or add milk if that's how you drink it) and ask one question: is it sour, or is it bitter?
| What you taste | What's happening | What to change |
|---|---|---|
| Sour, sharp, thin | Under-extracted | Grind finer OR pull to 40 g yield |
| Bitter, burnt, dry | Over-extracted | Grind coarser OR pull to 32 g yield |
| Weak, watery | Under-dosed or too much water | Increase dose by 1 g |
| Balanced, sweet, syrupy | You're dialed in | Save the recipe |
Simple taste-based adjustments once your shot time is in range.
Common beginner mistakes
Changing more than one variable at a time
If you change grind, dose and time at once, you'll never learn what caused what. Change one variable, pull a shot, taste it, then change the next.
Chasing a beautiful pour instead of taste
The color and 'mouse-tail' shape of the pour matter far less than what's in the cup. Taste every shot.
Blaming your machine
Almost every bad shot on a $500–$1,500 home machine is a grinder, dose or grind-size problem — not a machine problem. Even the Breville Bambino can pull genuinely great espresso if you dial it in properly.
Using stale beans
Espresso is unforgiving of stale coffee. Buy from a roaster with a roast date on the bag and use the beans within 3–4 weeks.
How long does dialing in take?
For your first ever bag of coffee: maybe 4–6 shots and half an hour. Every time you open a new bag after that: 1–3 shots. Once you're used to it, the whole 'dialing in' ritual takes about 10 minutes and produces coffee that would cost you $5 at a café.
The mindset shift that changes everything
Espresso is not a set-and-forget appliance like a drip machine. Every new bag of coffee has slightly different density, roast date and hydration, so it needs its own tiny adjustment. Once you accept that dialing in is part of the ritual — not a sign the machine is broken — everything gets easier and the coffee gets better.
Ready to upgrade your setup? Check our full reviews.ShopBuy it now
Shop the gear in this guide
Live Amazon listings for the products mentioned above. Prices checked September 2, 2026.


How to dial in espresso at home
Dial in a balanced espresso shot by adjusting dose, grind size and yield one variable at a time.
You need
- · 18 g freshly roasted coffee beans
- · Filtered water
Gear
- · Espresso machine
- · Burr grinder
- · Digital scale
- · Distribution tool and tamper
- 1
Set your recipe
Start with an 18 g dose, a 36 g output and a 25–30 second shot time — a classic 1:2 ratio.
- 2
Grind and distribute
Grind straight into the portafilter, distribute the grounds evenly, then tamp level with firm, consistent pressure.
- 3
Pull and time the shot
Start the pump and the timer together. Weigh the liquid espresso in the cup and stop at 36 g.
- 4
Adjust grind size
Faster than 25 seconds means grind finer. Slower than 30 seconds means grind coarser. Change only the grind between shots.
- 5
Taste and fine-tune
Sour and thin means under-extracted — grind finer or extend the yield. Bitter and dry means over-extracted — grind coarser or shorten the yield.
- 6
Lock in the recipe
Once the shot tastes sweet and balanced, note the dose, grind setting, yield and time so you can repeat it every morning.
Frequently asked questions
What is the standard espresso ratio?
1:2 — 18 g of coffee in, 36 g of liquid espresso out, in 25–30 seconds. Ristretto is 1:1.5 for more intensity; lungo is 1:3 for a lighter, longer shot.
Why is my espresso sour?
Sourness means under-extraction. Grind finer, raise brew temperature, or extend the shot time. Fresh beans under seven days off roast can also taste sharp until they degas.
How long should an espresso shot take?
25–30 seconds from pump start for a standard 1:2 shot. Consistently faster shots mean the grind is too coarse; slower shots mean it's too fine or the dose is too high.
Tools & deeper dives
Recommended gear
Gear used in this techniques guide
Editor-tested picks. Buying through these Amazon links keeps HomeCoffeeBrew free.
Free download
Like this guide? Get one every Sunday.
Plus our free Brew Ratio Cheat Sheet — dial-in ratios for every method, delivered instantly as a PDF.